Activity
How to Make a Braided Bracelet
Skip store-bought jewelry and show your stylish kid how to make her own beaded bracelets. Simple and cheap, these artsy bracelets will add a punch of color to any outfit—and they make wonderful gifts for friends too!
What You Need:
- Yarn or embroidery floss
- Beads
- Scissors
- Needle
- Craft glue
What You Do:
- Have your child cut three strands of yarn, each approximately three feet long.
- Help her hold the strands together before folding all three in half. She will now have six strands joined by a loop at one end.
- Let her make a knot below this loop. Make sure the knot is big enough to stop any beads from slipping through.
- Have her separate the six strands into three groupings of two strands each.
- She now needs to string 20 or more beads onto one grouping of strands. If necessary, she should knot the end of the strands to keep the beads from slipping off.
- If she doesn't know how to braid already, how her how to braid the three groupings of strands. She needs to take turns moving the left strand over the center strand and moving the right strand over the center strand. Have her braid up approximately one inch of the yarn groupings, pushing the beads down and out of the way as she works.
- Now she will braid the beads into the bracelet. Every third time she braids with the strand that has the beads she should leave one bead behind.
- Have her keep braiding until the bracelet is long enough to go around her wrist.
- Help her knot the yarn and bead braid into a loop.
- Let her dab the knot with glue to help it set.
- Once the glue dries, she can put on her bracelet and show off her handiwork!
Can't get enough of the jewelry-making fun? Your kid can create a whole set of bracelets using different colors of yarn, combining multiple strands in one bracelet and varying how often she leaves a bead.
Related learning resources
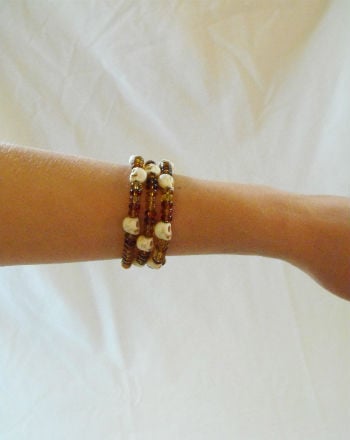
Autumn Beaded Bracelet
Activity
Autumn Beaded Bracelet
A package of memory wire and some beads are all that your artist needs to make a bracelet. The challenge will be to come up with a design inspired by autumn.
5th grade
Arts & crafts
Activity
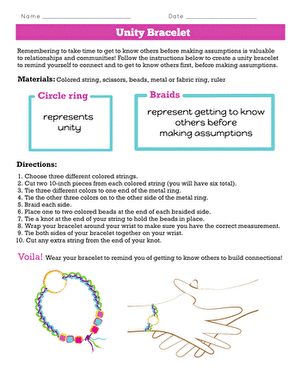
Unity Bracelet
Worksheet
Unity Bracelet
This social emotional learning worksheet will guide your child in creating a unity bracelet that will remind them of the importance of connection and getting to know others before making assumptions.
4th grade
Worksheet

How to Make a Compass
Science project
How to Make a Compass
Demonstrate how you can make your own compass using a magnetized needle. It also allows you to compare magnetic north and geographic north.
5th grade
Science project

How to Make a Hygrometer: Sling Psychrometer
Science project
How to Make a Hygrometer: Sling Psychrometer
Learn how to make a hygrometer to measure relative humidity in this project. Make a sling psychrometer hygrometer with gauze, thermometers, and a bottle.
5th grade
Science project

How to Make a Trick-or-Treat Bag
Activity
How to Make a Trick-or-Treat Bag
Learn how to make a trick-or-treat bag for Halloween. See how to make a decorative trick-or-treat bag with this Halloween craft tutorial.
preschool
Arts & crafts
Activity
How to Make Gears
Science project
How to Make Gears
In this science fair project, learn how to make gears and find out why they transmit torques in predictable ways.
5th grade
Science project

How to Make a Bouncy Ball
Activity
How to Make a Bouncy Ball
In this activity, you'll not only make your own bouncy balls at home, but your child will also learn how polymers are made.
5th grade
Science
Activity
How to Make Lightning
Science project
How to Make Lightning
They'll learn how to make lightning at home with this fun science fair project idea illustrating static charges and grounding.
5th grade
Science project
How to Make a Rubber Band Car
Science project
How to Make a Rubber Band Car
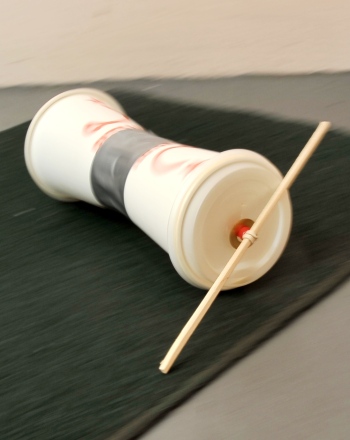
Kids get step-by-step instructions for how to make a rubber band car and explore the physics of potential energy with this fun engineering science fair project.
5th grade
Science project
How to Make a Secret Code
Activity
How to Make a Secret Code
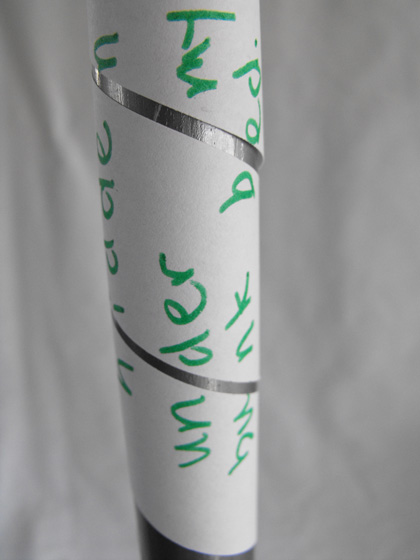
Encourage a bit of mystery and intrigue by teaching your clever kid how to create and use secret codes.
5th grade
Arts & crafts
Activity

How to Make a Cartesian Diver
Activity
How to Make a Cartesian Diver
Experiment with buoyancy to learn how a submarine rises and sinks in this classic science experiment.
5th grade
Science
Activity

How to Make a Lung Model
Science project
How to Make a Lung Model
This science fair project explains the process of how the lungs expand and contract with the help of the diaphragm.
5th grade
Science project


