Activity
Halloween Skeleton

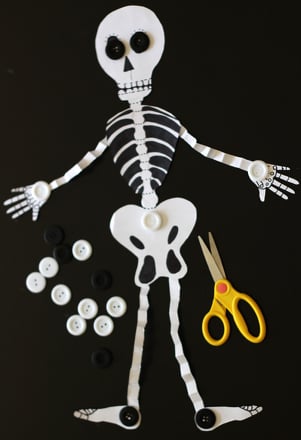
How do you turn an everyday object into a scary skeleton? This spooky project will give your kid an opportunity to practice counting, while using cotton swabs to create a skeleton. Test their knowledge of the terms vertical and horizontal while they glue the "bones" in place.
Related learning resources

Skeleton Bone Catcher
Game
Skeleton Bone Catcher
Help Skeleton Floyd catch the bone! This fun skeleton game for kids will have your child rattling, "Happy Halloween!"
Preschool
Math
Game

Skeleton Coloring Page
Worksheet
Skeleton Coloring Page
This skeleton coloring page features a skeleton who just wants to have fun. The skeleton on this skeleton coloring page was born to boogie.
1st Grade
Worksheet
Make an Accordion Skeleton
Activity
Make an Accordion Skeleton
Introduce learners to the skeletal system and create a budget-friendly Halloween craft with this paper skeleton!
1st Grade
Activity