Activity
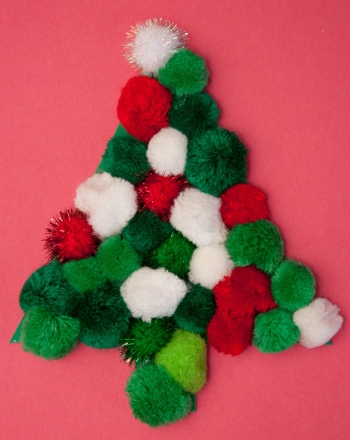
Tree Texture

Once they are fully decorated, Christmas trees are covered with objects of various textures. Aside from the prickly needles of the actual tree, there's a bounty of shiny glass and plastic, rough wood, soft felt and fuzzy garland. Your child can create his own texture tree, experimenting with design during the process. The result will be a beautiful addition to your holiday decorations, or it can become the front of a gorgeous Christmas card.
Related learning resources
Christmas Tree Puzzle
Worksheet
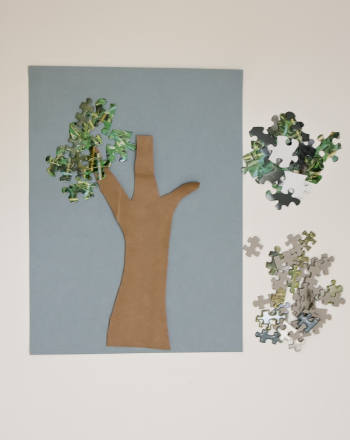
Christmas Tree Puzzle
This Christmas tree puzzle is easy to make and fun to use. Create a colorful Christmas tree puzzle with your child this holiday season.
kindergarten
Worksheet

Christmas Tree Dot-to-Dot
Worksheet
Christmas Tree Dot-to-Dot
This Christmas tree dot-to-dot gets your child to build a noble pine tree. Use this Christmas tree dot-to-dot to connect the dots of your jolly Christmas tree.
kindergarten
Math
Worksheet
Recycling Tree
Activity
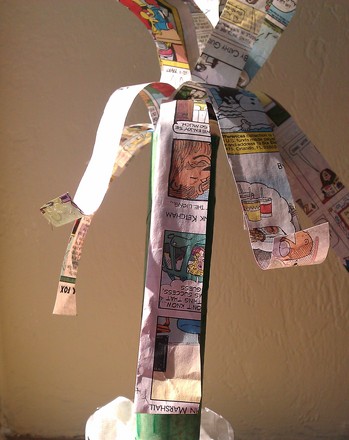
Recycling Tree
Celebrate Earth Day with a decorative tree made out of strictly reused and recycled materials.
kindergarten
Arts & crafts
Activity