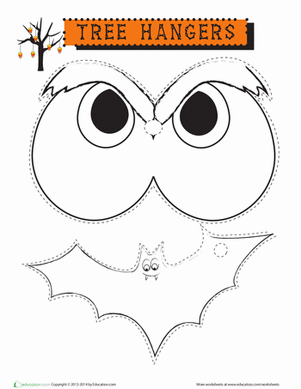
Activity
Halloween Ghost Craft

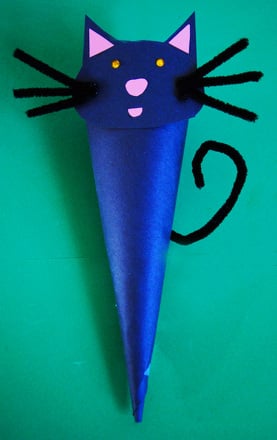
Now that October’s here, with days getting chillier and afternoons more cozy, it’s a great time for family crafts. Here’s a Halloween decoration you and your child can make together. While this one doesn’t require much pencil and paper time, never fear—it still boosts those skills.
In first grade, we try to use lots of “tactile” activities like this one, which build hand-eye coordination and small motor skills that kids need for handwriting and keyboarding. So, follow the directions below and cut and paste away!
Related learning resources

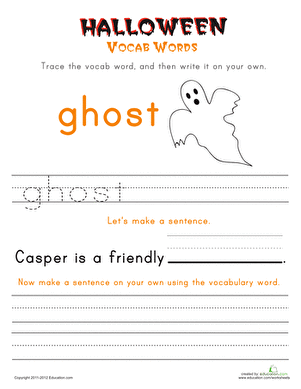
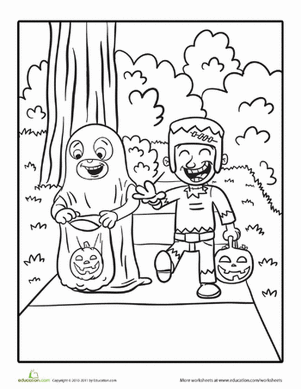
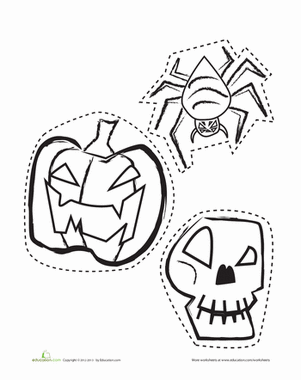
Halloween Ghost Coloring Page
Worksheet
Halloween Ghost Coloring Page
Before starting your own trick-or-treat adventure, get into the Halloween spirit by coloring a little ghost.
1st grade
Worksheet

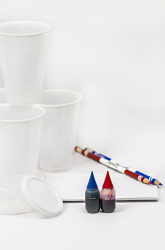
Ghost Pen
Activity
Ghost Pen
Help your child bring a bit of Halloween magic to school with a spooky ghost pen!
1st grade
Arts & crafts
Activity
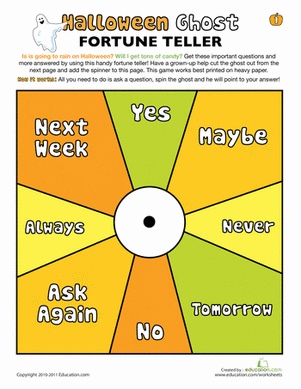
Halloween Fortune Spinner
Worksheet
Halloween Fortune Spinner
Learn what Halloween has in store for you this year with our spooky printable Ghost Fortune Spinner!
1st grade
Worksheet