Activity
Skeleton Hand Print
Create a three-dimensional X-ray of your child’s hand in this simple modeling activity. All you need to get started are black paper and drinking straws.
Grades:
Subjects:
Thank you for your input.
What You Need:
- Black paper
- Pencil
- White crayon
- Drinking straws
- Marker
- Scissors
- Glue
What You Do:
- Our hands bend and flex because of the combination of bones and muscles. Explain to your child that there are joints between bones, like where their fingers bend at the knuckles. There are five long bones in the palm of their hand. Their thumb has two long bones. The remaining fingers each have three. Your child is going to make an X-ray of the bones in their hand.
- Trace your child's hand onto the black paper. Use the pencil to sketch in the bones of his lower wrist using our photo as a guideline. The eight wrist bones are called carpals.
- Let your child use the white crayon to trace the outline of their hand and wrist bones.
- It’s time to cut the first straw bone. The bones in the palm are above the carpals. These are called metacarpals. They extend from the lower palm to the base of each finger. Help your child hold a straw over the metacarpal that extends from his lower palm to the lower joint in his thumb. Have your child hold it over the correct place in the X-ray. Cut the straw to length and glue it into place.
- Repeat step 4 with the metacarpals that connect with the first finger, middle finger, ring finger, and pinky. As they cut and glue the bones, discuss the advantages of being able to grasp things with their hand.
- Now it is time to add the phalanges. These are the bones in each finger. Starting with the thumb, help your child measure and cut the straw for the bone in the lower thumb. It extends from the base of the thumb to the knuckle. Glue this in place. Next measure the phalange that extends from the knuckle to the tip of the thumb. Again, cut and glue. Don’t panic if there are gaps. Joints contain cartilage which may not show clearly on an X-ray.
- There are 3 phalanges in each remaining finger. Starting with the first finger, measure from the base of the finger to the first knuckle. Cut and glue. Now measure between knuckles, cut and glue. Then from the top knuckle to the fingertip, cut and glue.
- Repeat step 7 for the middle finger, ring finger, and pinky. When you are done, your child will have a model of the bones in their hand.
Related learning resources

Skeleton Coloring Page
Worksheet
Skeleton Coloring Page
This skeleton coloring page features a skeleton who just wants to have fun. The skeleton on this skeleton coloring page was born to boogie.
1st Grade
Worksheet

Halloween Skeleton
Activity
Halloween Skeleton
How do you turn an everyday object into a scary skeleton? This project is the perfect way to practice counting while using cotton swabs to create a skeleton.
Activity

Skeleton Bone Catcher
Game
Skeleton Bone Catcher
Help Skeleton Floyd catch the bone! This fun skeleton game for kids will have your child rattling, "Happy Halloween!"
Preschool
Math
Game
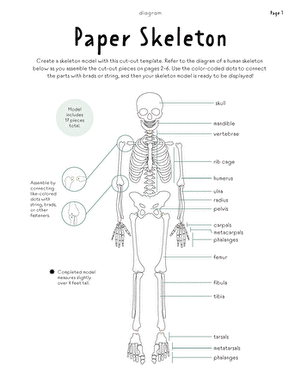
Paper Skeleton
Worksheet
Paper Skeleton
Fourth and fifth graders will cut out and assemble a human skeleton from paper in this engaging life sciences printable.
5th Grade
Science
Worksheet
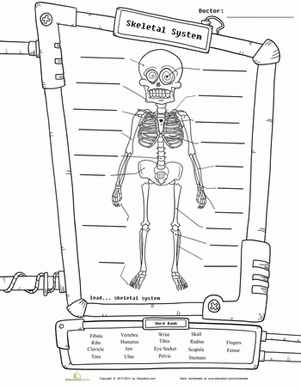
Skeleton Diagram
Worksheet
Skeleton Diagram
This skeletal system worksheet, featuring a funny diagram of a human skeleton, is just the thing kids need to master their skeletal system vocabulary.
5th Grade
Science
Worksheet
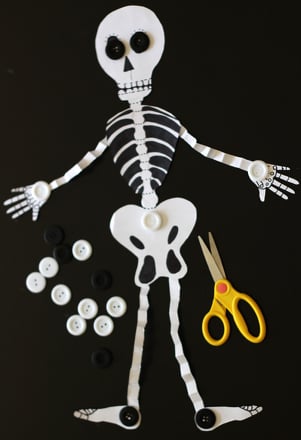
Make an Accordion Skeleton
Activity
Make an Accordion Skeleton
Introduce learners to the skeletal system and create a budget-friendly Halloween craft with this paper skeleton!
1st Grade
Activity

Anatomy: The Human Skeleton
Worksheet
Anatomy: The Human Skeleton
This diagram of a human skeleton is labeled with 12 major bones, from skull to fibula.
5th Grade
Science
Worksheet
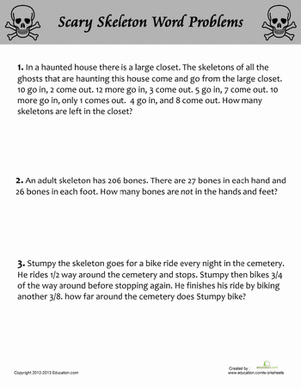
Scary Skeleton Word Problems
Worksheet
Scary Skeleton Word Problems
Practice addition, subtraction, multiplication, and even fractions with scary skeleton word problems.
5th Grade
Math
Worksheet
Make a Monster Hand Print
Activity
Make a Monster Hand Print
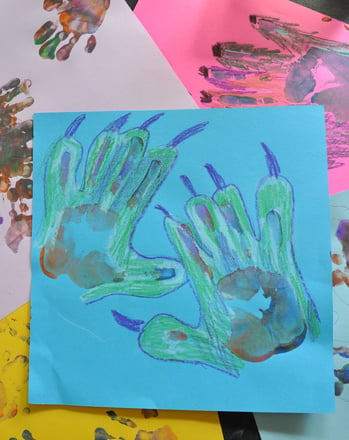
...Halloween decoration, monster hand print...
Preschool
Activity
Hand Print Family Treasure
Activity
Hand Print Family Treasure
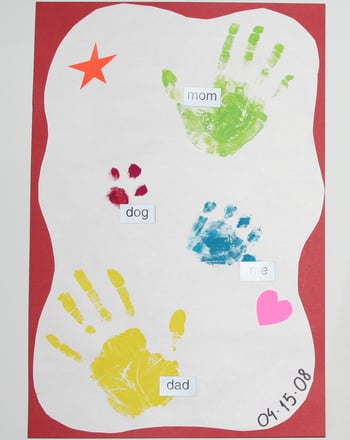
...Ask your child to paint their right hand with a favorite color....
2nd Grade
Social studies
Activity

Dancing Skeleton
Activity
Dancing Skeleton
...dancing skeleton, skeleton bones, diy halloween decorations, how to make a skeleton, skeleton fun...
1st Grade
Activity
Museum of Natural History: T-Rex Skeleton
Worksheet
Museum of Natural History: T-Rex Skeleton
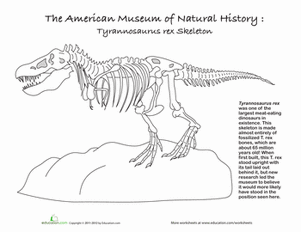
He'll read a few interesting facts about this t-rex skeleton.
2nd Grade
Worksheet


