Activity
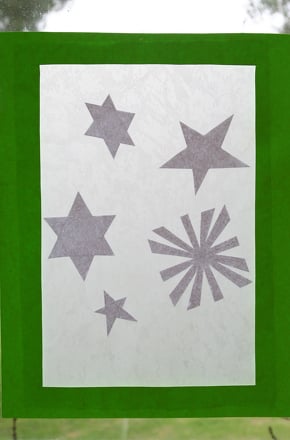
Capture Fall Leaves in Stained Glass

Have you ever looked at that mounting pile of leaves out your window and wondered what you are going to do with it all? This activity provides a solution, while also giving your child a fun science lesson. So, as they're jumping in that pile you just raked up, have them catch a few of the brightest leaves while they float down so that they can create a "stained glass" window.
Related learning resources

Create a Faux Stained Glass Vase
Activity
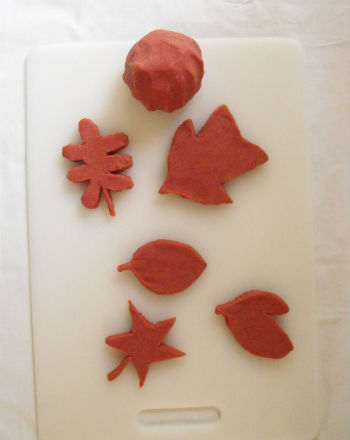
Create a Faux Stained Glass Vase
Try this creative art project with your second grader to help him build up his fine motor skills and artistic awareness as he makes a faux stained glass vase.
2nd grade
Arts & crafts
Activity
Fall Cupcake Picks
Worksheet
Fall Cupcake Picks
Cupcakes are extra fun when they're topped with festive acorns, fall leaves, pumpkins, and turkeys. Top them with these Fall cupcake picks!
2nd grade
Arts & crafts
Worksheet
Fall Words Reading Tree
Activity
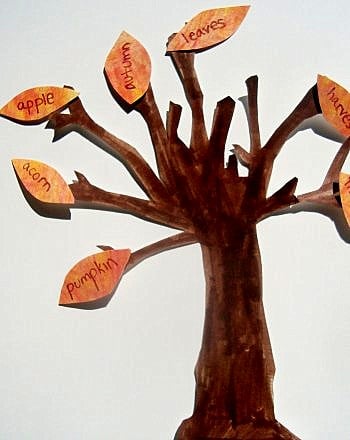
Fall Words Reading Tree
Celebrate the fiery colors of fall with a charming tree and a pile of wordy leaves.
2nd grade
Reading & Writing
Activity