Activity
How to Make a Sketchbook
Each season is full of different opportunities for fun-filled outdoor play and exploration. Enhance your young child’s experience with nature by creating garden journal sketchbooks. This project is an activity that allows children to combine artistic techniques, visual aesthetic explorations, and literacy skills while being introduced to basic nature concepts.
The initial lesson focuses on the construction and decoration of the journal/sketchbook. Using printing methods, students will create individual garden themed covers. Then your child will get a chance to develop fine motor skills by "sewing" the books together. The finished product will allow for extension and continuation into outdoor sketching activities and letter writing development. This is a great project to do with your child to get them outdoors and keep their mind active!
What You Need:
- Construction paper (enough for a cover, back, and at least three interior pages)
- Pipe cleaners (cut in half)
- Tempera paint
- Natural materials (i.e. leaves, flowers, twigs, acorns)
- Markers or crayons
- Hole punch
What You Do:
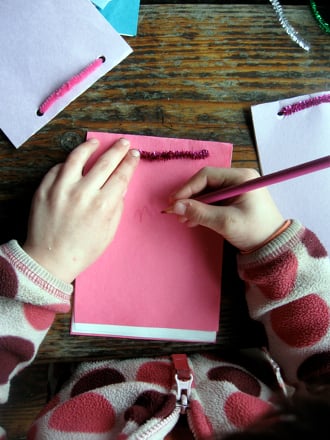
- Punch holes in the construction paper. One near the top and one near the bottom making sure both holes are close to the same edge of the piece of paper. Align all the holes for each journal/sketchbook together; these will be used when sewing the book together.
- If possible, take a field trip outdoors to gather natural materials with your child. Ask the children to choose a few different items from the materials found to use in the printmaking process.
- Your child can dip each material into the tempera paint, then press onto the construction paper cover. This time can also be used to introduce the concept of multiples (each child should make more than one print from each object).
- Label with your child’s name, and set aside to dry.
- After the print cover has dried, invite your child to sew the book together using the pipe cleaners. They can do this by threading the pipe cleaners through the aligned holes, then twisting together.
- Go outside! Venture into nature and bring along the journal/sketchbooks and markers or crayons. Allow the children to draw what they see. Encourage your child to label their drawings with words (if they are too young to do this an adult can help).
Keep the journal/sketchbook for an extended period of time and add to it. Your child can add to it over the course of several different seasons. The pipe cleaners can be undone to add extra pieces of paper. Have your child continually add to the sketchbook as time goes by. When done, they'll have created a memorable work of art that will last for many seasons to come!
Related learning resources
