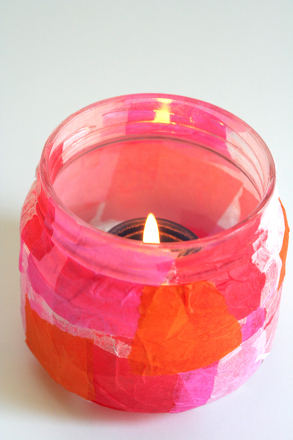
Activity
DIY Photo Holder

Help your child create a fun way to display her favorite photos with this recycling project. Let her be as creative as she likes and she’ll soon have a photo holder that is as unique as the photo she chooses to display.
Related learning resources

Friendship Photo Props
Worksheet
Friendship Photo Props
Having a photo shoot with best friends? Make it a bit more colorful and fun with these friendship photo props!
kindergarten
Arts & crafts
Worksheet

Princess Photo Props
Worksheet
Princess Photo Props
These photo props are great for making your photo shoot a little more colorful.
kindergarten
Arts & crafts
Worksheet
Christmas Card Holder Craft
Activity
Christmas Card Holder Craft
This Christmas card holder craft is a great activity for your child. Make a Christmas card holder with your child this holiday season.
kindergarten
Arts & crafts
Activity