Activity
Make Your Own Pendant

This Scrimshaw necklace is a unique art project for preschoolers that uses a traditional whaler technique of etching designs into a malleable material (they used to use whale teeth and bone) to create works of art. While your child creates his design, you can teach him about the artistic techniques of other cultures and time periods.
Related learning resources

Make Your Own Sketchbook
Activity
Make Your Own Sketchbook
Save money and get creative by helping your preschooler create and make her own unique sketchbook to put her art in.
preschool
Activity
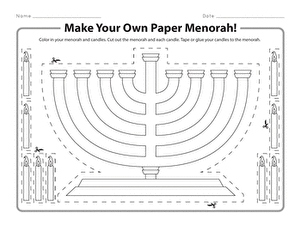
Make Your Own Paper Menorah!
Worksheet
Make Your Own Paper Menorah!
Use this fun Hanukkah craft to help your child make their very own paper menorah to celebrate the festival of lights this year!
preschool
Worksheet
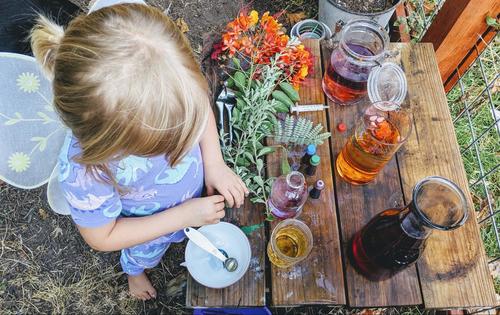
Make Your Own Fairy Potion
Activity
Make Your Own Fairy Potion
Fairy scientists who make their own potion, of course! This activity promotes critical thinking skills as your child mixes, experiments, and creates their very own fairy potions.
Science
Activity