Activity
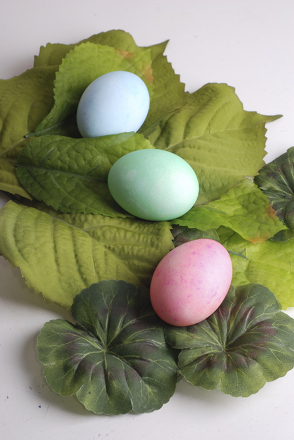
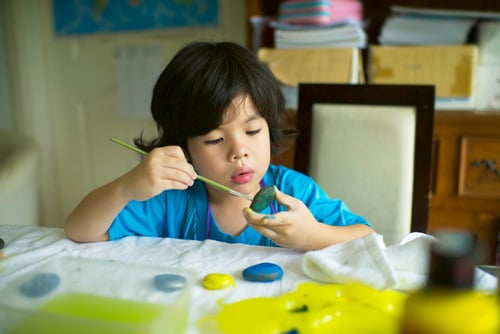
Painted Wooden Eggs

Looking for an exciting Easter project to do with your 3rd grader this year? Inspire your child to exercise her creativity by decorating wooden eggs for Easter. These eggs make a beautiful table decoration that can be used over and over again each year. Make this activity an Easter tradition for years to come and get the whole family involved!
Related learning resources
Easter Deviled Eggs
Activity
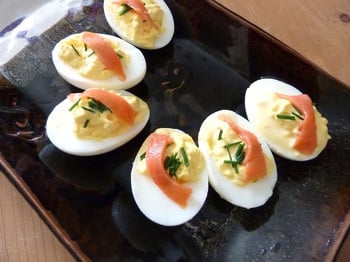
Easter Deviled Eggs
Use up your leftover hardboiled Easter eggs with our healthy, gourmet variations on an old classic: deviled eggs
3rd Grade
Activity

Bar Graphing with Eggs
Game
Bar Graphing with Eggs
It's raining eggs! Kids must move quickly to catch eggs for Farmer Brown, organizing and displaying the data using bar graphs in this silly game.
3rd Grade
Math
Game
Green Eggs and Ham Recipe!
Activity
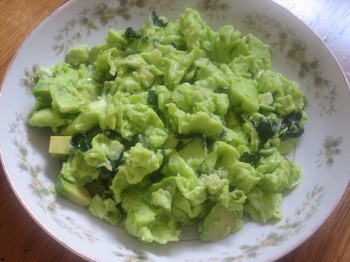
Green Eggs and Ham Recipe!
Try this delicious and nutritious recipe for Green Eggs and Ham, inspired by Dr. Seuss's classic story of Sam I Am.
3rd Grade
Activity