Activity
Make a Knuckle Contour Map

A contour map shows the high and low areas of geography. These maps are helpful when trying to imagine the terrain in ways that simple distances don’t represent well. But these maps can be complicated. Here's an activity that will help your teenager understand contour maps like the back of her hand with the back of her hand!
This activity will help your child imagine how terrain maps work by charting the topography of her fist with the same methods contour maps use.
Related learning resources

Create a Contour Map
Science project
Create a Contour Map
The goal of this project is to create an exciting topographical map out of dough.
4th grade
Science project
Topographic Map Matching
Interactive Worksheet
Topographic Map Matching
Practice recognizing topographic maps and contour lines with this worksheet.
4th grade
Social studies
Interactive Worksheet
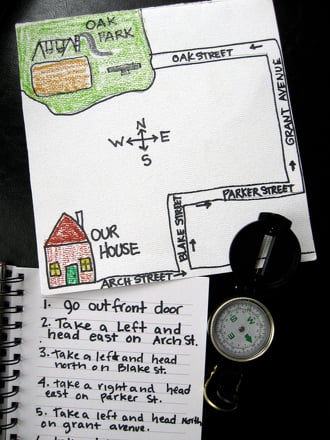
Make a Step Map
Activity
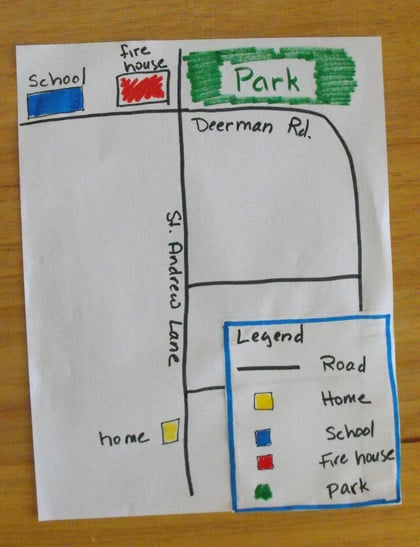
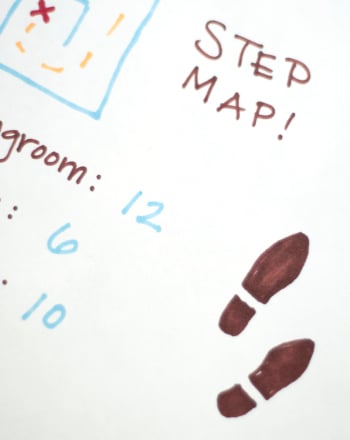
Make a Step Map
Kids put their graph-making skills to work as they make a step map of their own house.
1st grade
Math
Activity