Activity
How to Make a Cowboy Vest

Cowboys played an important part in taming the wild west and making America what it is today. Have your little cowpoke design and decorate a vest that's perfect for combating the elements on the harsh Western plains, and better his understanding of what life was like for these American legends.
Related learning resources
How to Make Fairy Wings
Activity
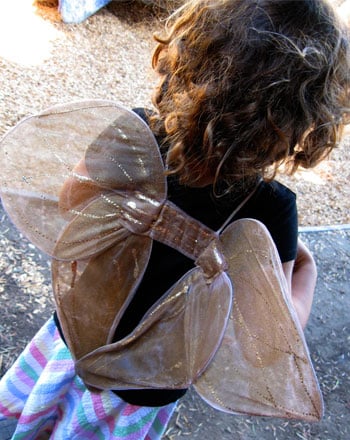
How to Make Fairy Wings
Learn how to make fairy wings with these easy instructions. See how to make fairy wings for Halloween or dress-up time.
preschool
Arts & crafts
Activity
How to Make a Trick-or-Treat Bag
Activity
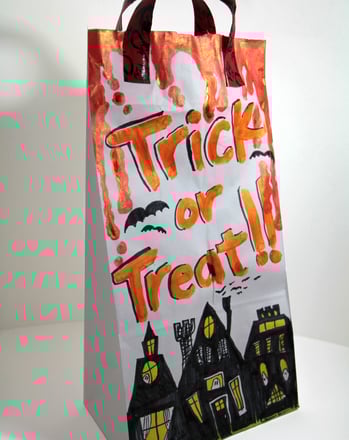
How to Make a Trick-or-Treat Bag
Learn how to make a trick-or-treat bag for Halloween. See how to make a decorative trick-or-treat bag with this Halloween craft tutorial.
preschool
Arts & crafts
Activity
How to Make Paper Christmas Trees
Activity
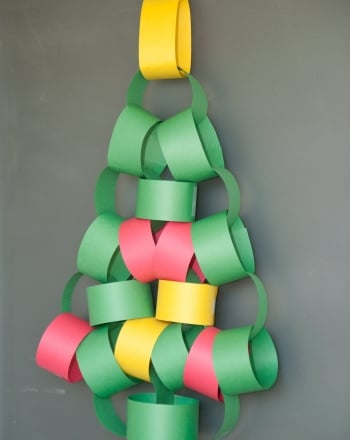
How to Make Paper Christmas Trees
Learn how to make paper Christmas trees with this simple craft. See how to make paper Christmas trees and celebrate the holiday season.
kindergarten
Arts & crafts
Activity