Activity
Make Roman Relief Coins

Roman coins, dating as far back as 800 B.C., contained clues about the past. Inside each coin was a code which symbolized everything from Roman victories to successful emperors. Help your child bring the magnificent spirit of Rome to a modern day, personalized clay coin. They'll tell their own unique tales on the front and back of the carved relief coin. While your learner may not be able to spend their craft, they'll still get a good idea of how Romans created their currency!
Related learning resources

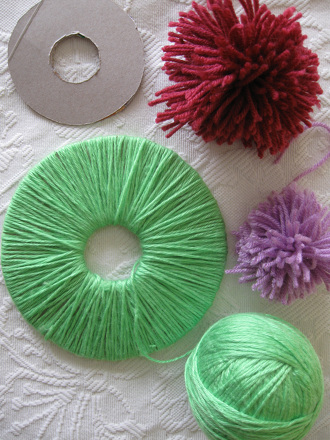
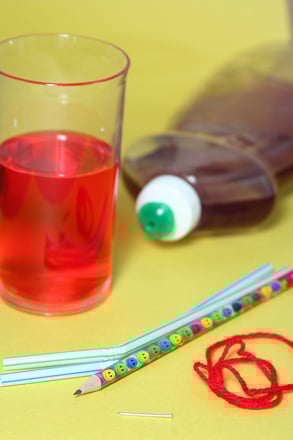
Make a Holiday Scarf
Activity
Make a Holiday Scarf
Have your child make a holiday scarf with inexpensive materials, no sewing required!
5th grade
Arts & crafts
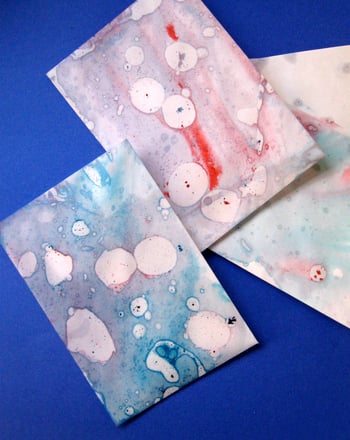
Activity
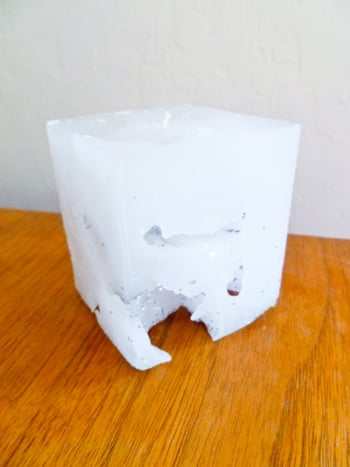
Make Ice Cube Candles
Activity
Make Ice Cube Candles
Make some beautiful and unique candles to light your home.
5th grade
Arts & crafts
Activity

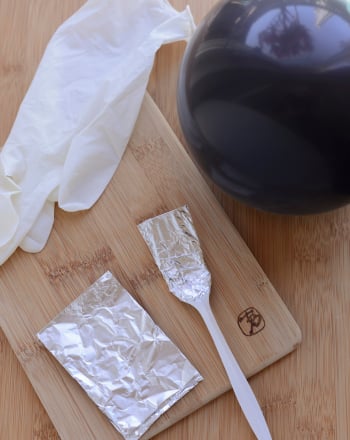
Make Aluminum Ornaments!
Activity
Make Aluminum Ornaments!
Using aluminum is a great way to recycle and make some shiny ornaments borrowing from this traditional Mexican art form. Here's an easy kids' activity!
4th grade
Arts & crafts
Activity